Here's some details:
1.-No back-linking to previous posts, your must be a new project.
2. You must link your project back to our challenge
3. You must link directly to your post, not simply your general blog.
4. Can't be linked to more than 8 challenges including ours.
5. Have fun!
Oh, and don't forget to use the link-up below to share your project. The Linky closes Monday, January 29th at 5:00 p.m. Mountain Standard Time.
Here's My Card:

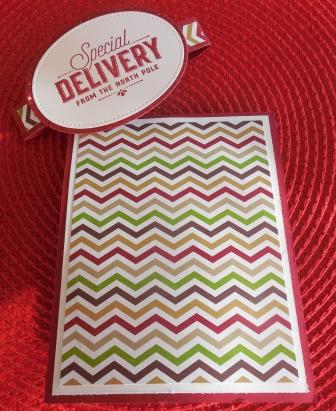
Outside Details:
One of the things I really like making for these Twist N' Pop cards is the belly band. The belly band is "the keeper of the gate". It's what holds back the mystery of these special cards. Honestly with a good belly band you have absolutely no idea what's going to show up inside the card until it comes off. What fun!

For some glitz n' glam I cut out a larger oval from Red Glimmer Paper and mounted that with foam tape behind the sentiment layer. I added a 3/4" x 4 strip of designer paper on the front of the band and then attached the Special Delivery label with Tear N' Tape to the center front.
The card front itself is very simple and has no embellishment. I added a 5 1/4" x 4" layer of Whisper White card stock followed by a layer of patterned paper from "Season of Style" DSP. This paper was around a few seasons ago and I still absolutely love the colourful zig zag pattern. The chevrons of colour are Early Espresso, Crumb Cake, Cherry Cobbler and Old Olive. Perfect!
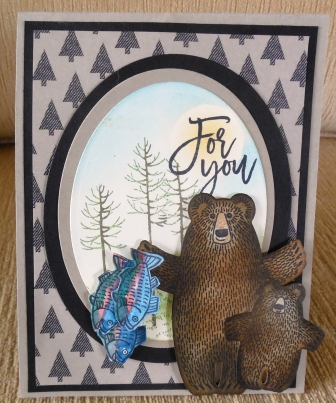
When the belly band comes off it reveals Santa Claus and his pack of reindeer, in all their festive glory.

Every Twist N' Pop card I make has an inside story. This one begins with Santa's Reindeer, who're eager and ready to "guide his sled tonight". I stamped the reindeer images with Stampin' Ups! Cookie Cutter Christmas which was carried over from last year. I stamped them with Momento Tuxedo Black ink on Crumb Cake and then fussy cut out all those cute little heads with my detail scissors. If you don't like fussy cutting there's a coordinating builder punch.


Center Panels:
There are four center panels each adding a little bit more to the story and helping to support the greeting.


Supplies:
Stamp Sets: Cookie Cutter Christmas, Merry Little Labels, Teeny Tiny Sayings
Card Stock: Whisper White, Cherry Cobbler, Basic Black, Old Olive
DSP: Red and Silver Glimmer Paper, Season of Style (R)
Ink: Momento Tuxedo Black, Cherry Cobbler and Old Olive
Accessories: Big Shot, Paper Trimmer, Detailed Scissors, Dimensionals, Foam Tape, Tear N' Tape, Black Rhinestones, Wink of Stella, Home Town Greetings Edgelits, Memory Box Pinpoint Rectangles #30065, Holly EF, Stitched Shapes Ovals, Sleigh Ride Edgelits, Card Front Builder Thinlets, Large Oval Punch,

I hope you enjoyed today's Watercooler Wednesday Challenge and that you've had time to check out my template and tutorial on my previous post just click here.. I also hope you've checked out the entries from all the Design Team members at the Watercooler Wednesday challenge as there are so many great ideas and inspiration.

Happy Stamping!
Penny Tokens Stampin Spot