Tuesday, June 15, 2021

Beautiful Moments

I participated in a Zoom class on Saturday and there were three challenges during the event.  The first challenge was to use the colours pink, aqua, yellow, and green and you could use white or black as neutrals.   

Here is my card:


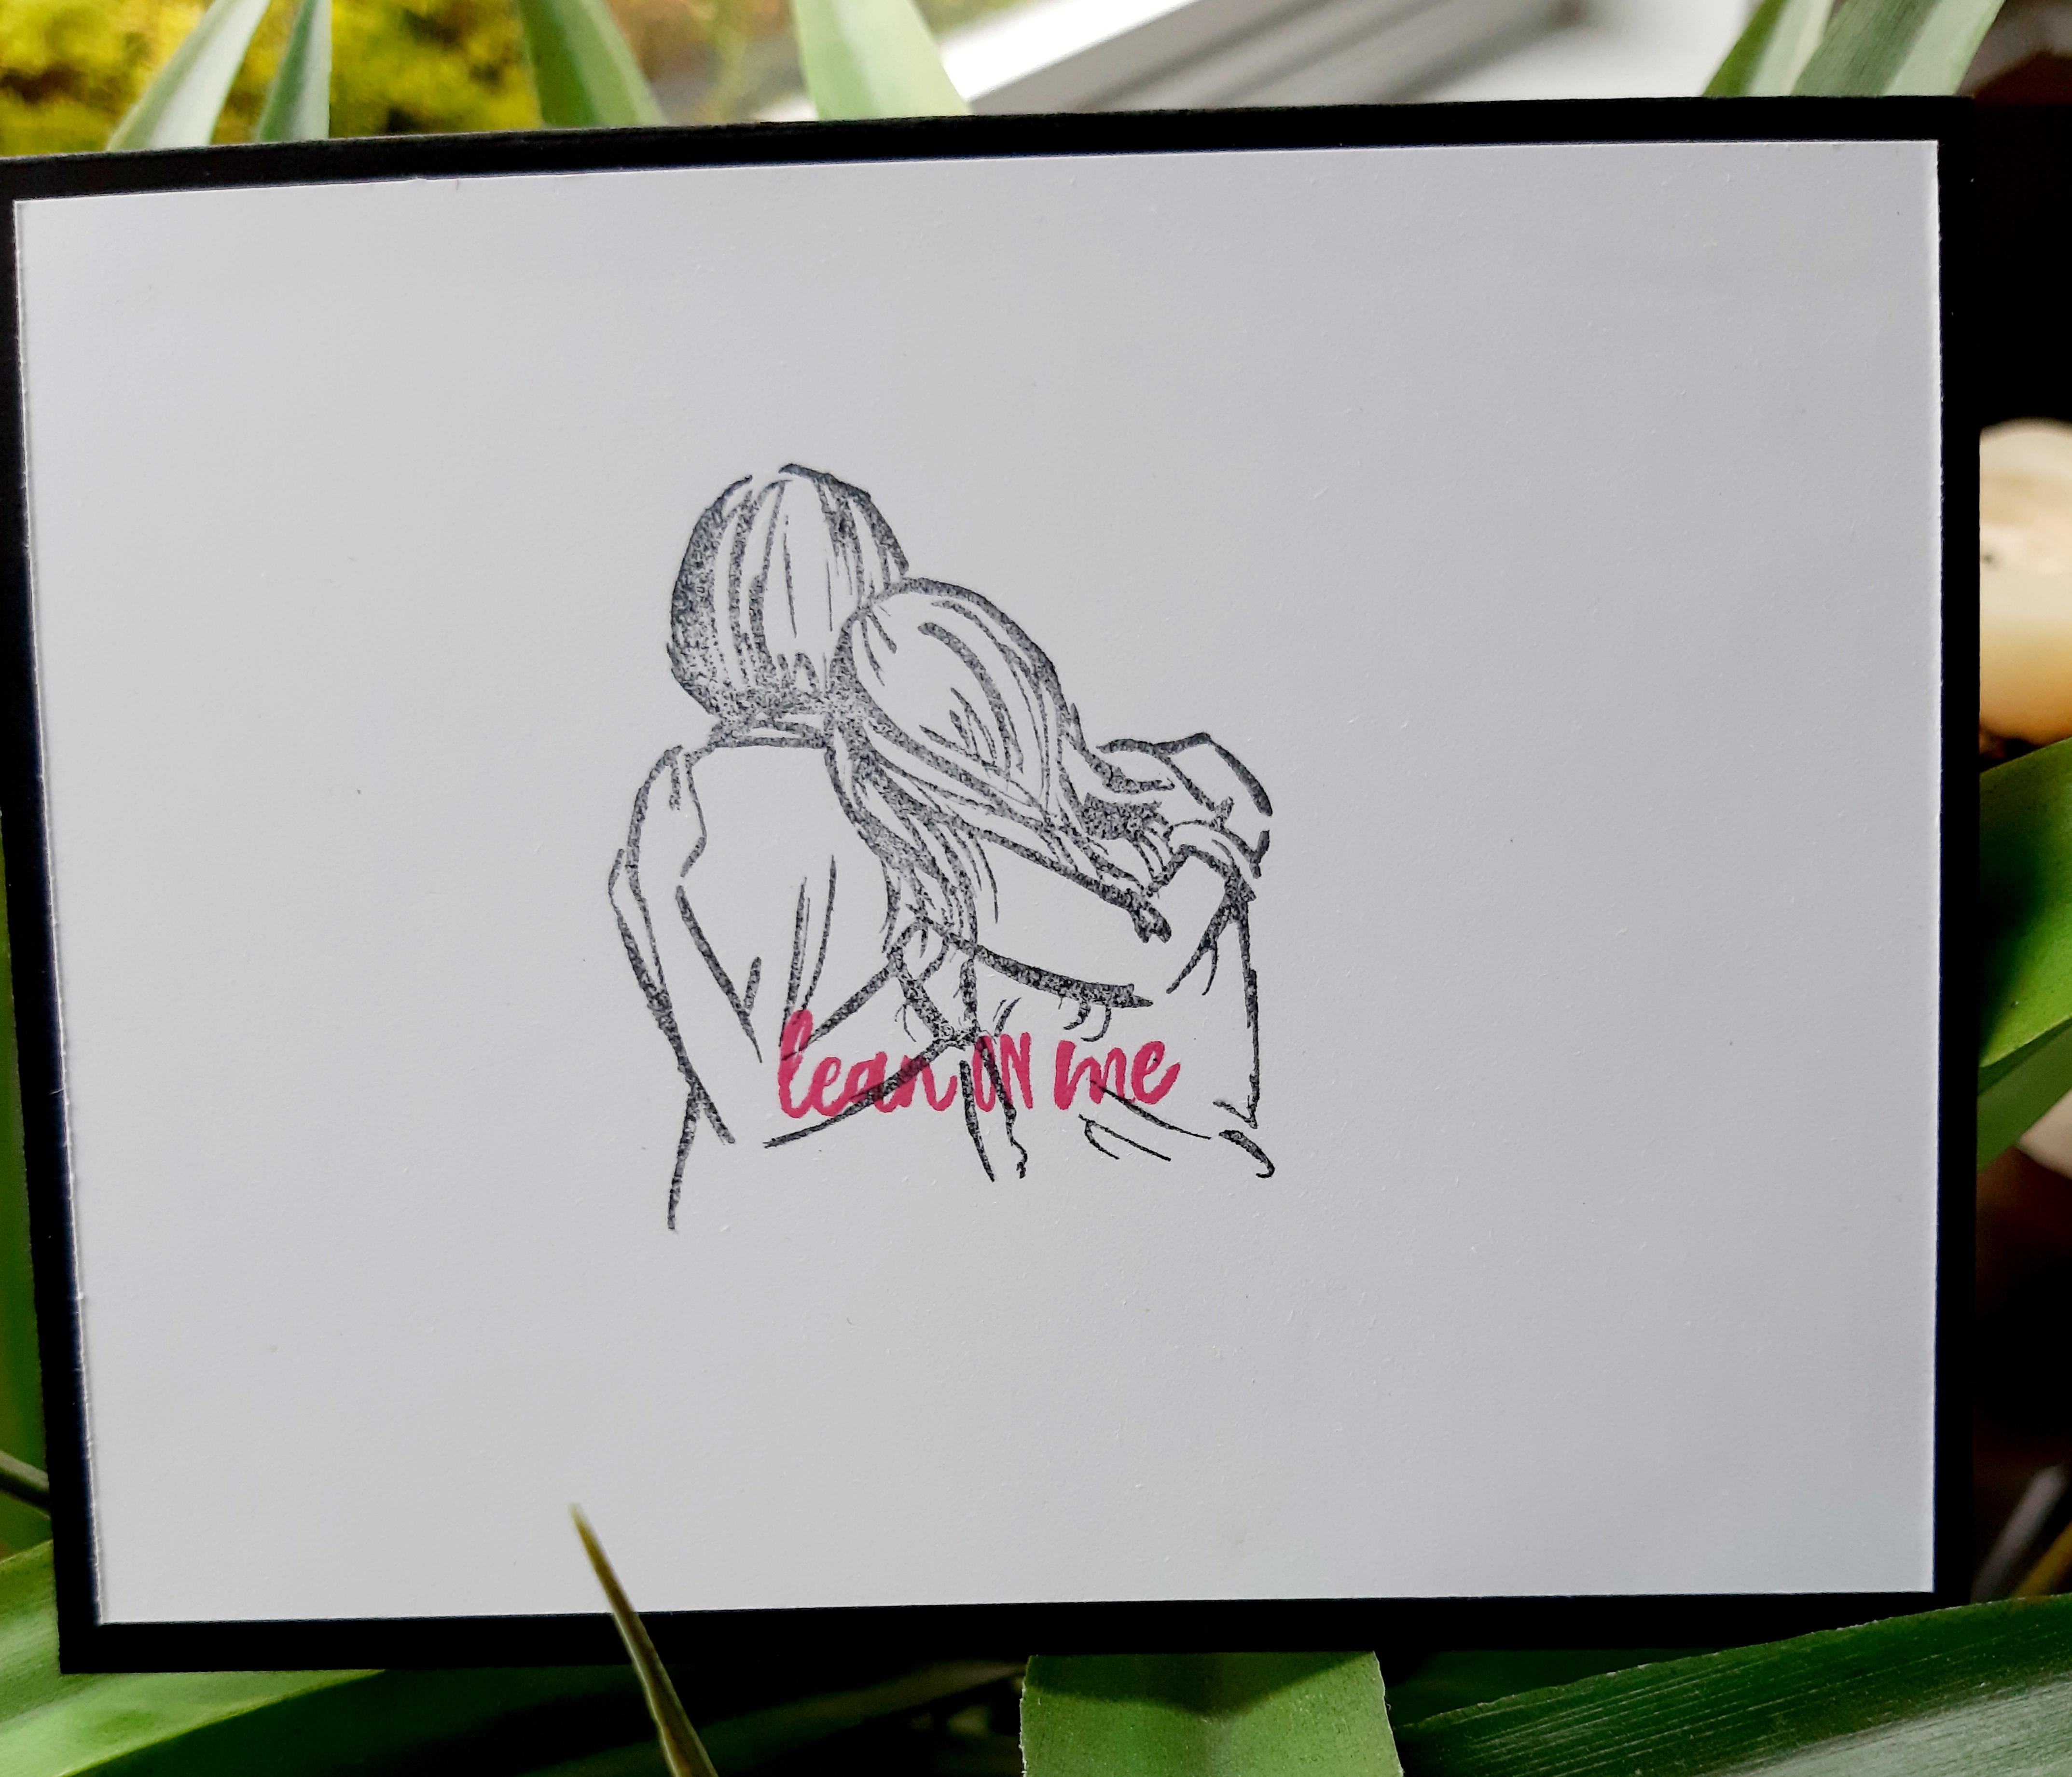
I've been itching to use my new Beautiful Moments stamp set since it arrived, so this was a perfect opportunity to get inky.  I decided to create a scene where the mother and daughter were walking along the beach.  

Details:

Stamp Sets:    Beautiful Moments, By the Dock

Dies:  Basic Borders - Stitched Cloud die 

Punches: Scalloped Circle 

Ink:  Coastal Cabana, Polished Pink, So Saffron, Old Olive and Granny Apple Green inks and Stampin' Blends,  Momento Tuxedo Black Ink

Cardstock:  Basic White, Coastal Cabana 

Card Base:  8 1/2" x 5 1/2" and scored at 4 1/4"

Layers:  Basic White 5 1/4" x 4", Coastal Cabana 5 1/4" x 4", Basic White for the images 5 1/8" x 3 7/8" 

Beautiful Moments 11 piece cling stamp set.  The line art makes it easy to apply watercolour techniques or blending.  

I created a scene by stamping the Mother and Daughter walking along the beach in Momento Black ink.  I coloured in their clothes with Stampin' Blends.  After I was finished colouring I wanted to add the background and so I re stamped the image on masking paper, covered the images and began blending.

I used a blending brush to create the sky and to get the cloud effect I punched out a scallop circle and used it to blend around.  I also masked in an 3/4" circle for the sun, which was later coloured in with So Saffron ink.  

For the greenery at the base of the card I used a stamp from the recently retired By the Dock set that gives a great ground effect. I stamped the image with Momento black ink and staggered it to give the appearance of sand with grass clumps. I blended Granny Apple Green and Old Olive inks across this area of the card.  

By the Dock - retired 

I also wanted to experiment with my new Basic Borders dies.   Oh my they're so easy to use and give such a beautiful edge.  Essentially I just fitted the cloud die on an angle across the top of the design layer and ran it through my Cut N' Emboss machine and then repeated this with the Coastal Cabana layer.  


This is what the six dies look like.  

This image of the Basic Border Dies shows what the die cut looks like after the card stock has been run through the die cutting machine. 

These Basic Border dies can be used as a single border, or paired together to create the perfect finish on your project.  There are 6 dies in the package and the largest measures  Largest die: 6" x 1" (15.2 x 2.5cm).  Use a Stampin' Cut & Emboss Machine to cut your die images. 


I hope you liked my project.  If you have any questions please contact me, I'd be happy to provide more details.  

Happy Stamping!

Penny Tokens Stampin' Spot

Penny Hanuszak, Canadian Independent Stampin' Up! Demonstrator

June Hostess Code:
If you're placing an order under $200 before s&H and sales tax, be sure to add my hostess code for the month of June.  I will reward you with a thank you card and a small gift to show my appreciation.  If you're placing an order over $200 you will earn hostess rewards based on your order total.  


Monday, June 14, 2021

Hats Off to Beating Cancer

I made a card this afternoon and I hope I never ever have to send it to someone I know. I'm sure you'll know why when I say the theme of the card is "Breast Cancer friendship and support".  I've had too many friends, relatives and acquaintances who've battled this horrible disease.  

In my last post I featured the Hats Off Bundle and I mentioned that although this stamp and die set come off as masculine, they can also make up some pretty special feminine cards. 

Here is my card:

  • I began by cutting and scoring the Basic Black card base.
  • I cut the Polished Pink Layer and before adhering it to the card base I die cut the ball cap and cancer ribbon from  the center part of the layer. 
  • I ran my Polished Pink Blends over the cap edges and along the stitched lines to add some depth to the cap.    
  • I used the linked small basic rhinestones strip along the cap brim.  From the Hats Off bundle I die cut the oval sentiment and insert and attached the small pink ribbon from the Artfully Aware dies.  The ball cap was added to the card with dimensionals.    
  • I cut the Basic White layer, then stamped it with the large ribbon image from the Artfully Aware set in Momento Black ink. To give this layer a bit more texture I embossed it with the Tasteful Textiles Embossing Folder to give the background a little more texture. 
  • I chose the sentiment "Be Strong, Be Brave - you've got this" which is part of the Many Messages Cling Stamp set because it's such a bold statement.  I love this bundle of sentiments as I can pre-stamp and die cut the sentiments ahead of time. 
  • To finish off the card I added the Basic Rhinestones around the hat brim and a few scattered rhinestones and to the Basic White layer.  I added a small rhinestone to the center of the ribbon. 
Love this sentiment from Many Messages #154510

  • For the inside card panel I stamped off the image of the two girls hugging once and then stamped to the center of the card.  In retrospect I should have stamped in Gray Granite or Smokey Slate for a softer image.  The sentiment was stamped full strength in Pink Polish and then the layer was adhered to the base.   

Details:

Stamp Up Sets:    Artfully Aware (Retired Stampin Up), Hats Off Bundle (#158361), Many Messages (#154510)

The Artfully Aware Stamp set and Coordinating dies by Stampin' Up! have Retired.

Hats Off #155483 for the 15 piece photopolymer stamp set 

Hat Builder Die Set #155964 has 15 dies.  Purchased as a bundle you save 10% just use order code #158361
Many Messages Stamp & Coordinating Die Bundle 


Card Stock:    Basic Black (base), Polished Pink, Basic White 

Ink:    Momento Black, Polished Pink and Versa Mark with Silver Embossing Powder

Accessories:  Dimensionals, Basic Rhinestones, Tasteful Textiles Embossing Folder

Card Base: 8 1/2" x 5 1/2" scored at 4 1/4" (Basic Black)

Layers:    

1st layer - 5 1/4" x 4" Polished Pink.  

2nd layer - 5" x 3 3/4" Basic White (stamp and emboss), Inside layer 5 /14" x 4" Basic White.  


Note: This card can be made in any combination of colours and for any form of cancer support or other type of support.  It's just a case of changing up the hat and 1st layer colour and you have a totally different look.  

Here's a Masculine Card I made for a challenge over the weekend where I've used the Hats Off stamp set and dies combined with Mountain Air.  The colours are muted and more masculine.

Like I said this becomes a totally different card by changing the background, sentiment and colours.  Although this particular card is earmarked for an outdoorsy kind of guy and an occasion such as Father's Day, a birthday or perhaps retirement event, it could easily be changed into a masculine support card by adding the ribbon to the hat brim and changing the sentiment to the one used above.     


Hope you've enjoyed this card and will leave me a comment.  


Happy Stamping!
Penny Tokens Stampin' Spot


Penny Hanuszak, Canadian Stampin' Up! Demonstrator

Click here to Contact Me: 

June Hostess Code: 

If you're placing an order in the month of June that is under $200 (before S&H and tax), apply the above hostess code and you will receive a hand made thank you card and a hostess gift from me for participating.  If your order is over $200 or more (before S&H and tax) you don't need to apply the code because you will receive your own rewards based on your order total.  Cheers! 


Sunday, June 13, 2021

Masculine Cards for Father's Day

Have you looked at your calendar and wondered, "wow where has June gone", you're not alone.  Here we are at the half way mark and Father's Day is just a week away.  I always get requests from my friends for handmade Father's Day cards, so I've been working on some great masculine cards that would be perfect for that occasion, or for other masculine events like birthdays and retirement.

My motivation for the first card came from a new stamp and die set called the Hats Off Bundle.  You can find this on page 47 of Stampin' Ups! recently released Annual Catalogue.  

The Hats Off Bundle (#158361) is comprised of a 15 piece photopolymer stamp set called Hats Off (#155483) and a 15 piece coordinating die set called the Hat Builder (#155964). These can be purchased individual or you can save 10% by buying the bundle.  However you purchase this set, I know you're going to love it.  


Here's the first card I made with this bundle: 


Sometimes you buy a stamp and die set and you wonder why you did.  Let me just say that the Hat's Off bundle did not disappoint, I am in love with it!  The ball cap is just the perfect size for a card front or back as you'll see in a later photo, but there are so many other things it could be used for.

The die cut can be used on it's own or you can stamp the cap and then die cut it.  Either way it looks awesome.  The stitching on the cap seams is really detailed, so you get a little bit of a 3-D look.

Directions: 

Ink and Card Stock:    Cinnamon Cider, Misty Moonlight and Very Vanilla  card stock.  Misty Moonlight ink and blends used on the hat and sentiments inside and out. 

Card Base:  8 1/2" x 5 1/2" card base from Misty Moonlight card stock.

Layers:  Very Vanilla 51/4" x 4" followed by 5 1/8" x 4 1/8" piece of Cinnamon Cider, that was embossed with the Tasteful Textiles 3-D Embossing Folder. 

Embellishments:  I cut the hat from Very Vanilla card stock thinking that would look good on my card front .....wrong. It was way too light so instead of wasting this piece I coloured it with dark and light Misty Moonlight Stampin' Blends and then embossed it.  When I added the texture it made the hat look like it was suede.  Before adhering the hat to the card front I used my bone folder to round out the edges and then added dimensionals to the back of it. 

There are nine difference logo type embellishments included in this stamp set that can be used on the hat brim.  I cut out the "Life is Great" using the coordinating dies from Cinnamon Cider card stock and stamped the sentiment in Misty Moonlight ink before adhering this piece to the hat brim.    

Note:  The embellishment dies have two pieces and you can use them individual but they work best when fitted inside each other. The smaller piece doesn't cut out the card stock it just creates the stitching around the picture, while the larger one is the actual die cut.  

To finish off the front of the card I stamped the sentiment "To The Guy That Wears Many Hats" on a small scrap of Very Vanilla with Misty Moonlight ink.  Using the new Tailor Made Tag dies  I cut three separate tags to coordinate with the card colours and attached them with a blue brad and dimensionals. 

For my next project I decided to make some cards with Polo Shirts:

I recently saw a post on Frenchie Stamps blog showing some simple polo/golf shirts she made using the Handsomely Suited bundle.  I decided to try out her technique and I was amazed at how quickly these cards came together.  Here are the basic steps.   

I used paper designs from the In Good Taste DSP #152494 pg 132 AC that were carried over from last year.  These photographic images of woven materials give a life like 3-dimensionals texture to these cards making them quite unique. As an alternative to these papers, you could create your polo shirt using any  of the In Color Designer Series papers such as the In Color 6 x 6 Neutrals paper packs on pg 134.   


Directions:  

Ink & Card Stock:  Cinnamon Cider, Misty Moonlight 

Card Base:    4 1/4" x 11" scored at 5 1/2" 

DSP Layer:    4 1/4" x 5 1/2"  - for full card or

                      4" x 5 1/4" - for shirt with border 

Collar/Pocket: 2" x 3" piece of contrasting cardstock.  Die cut out the collar and pocket then emboss the collar with the Tasteful Textile Embossing Folder.  Leave the pocket plain as you'll be stamping it.   

Placket for Buttons:  3/4" x 5 1/2" piece of contrasting cardstock.  Die cut this piece and then cut it in half - you'll have a spare for another card.  

Buttons:  I used Adhesive Sheets on the back of a 1 1/2" x 1 1/2" piece of black cardstock for my buttons and ran it through the Cut & Emboss Machine a couple of times.

Inside of Card:  4" x 5 1/4" Very Vanilla Cardstock with a 3/4" piece of dsp from the DSP layer on the long side or across the bottom.  Stamp the greeting "A Happy Birthday to You" from the Handsomely Suited Stamp Set

Handsomely Suited Bundle 

In Color Neutral 6 x 6 DSP 

In Good Taste DSP 

Well that's it for this week.  I will be posting more with these bundles over the coming week, so stay tuned.  Let me know if you like these cards and the instructions I've provided.  

Happy Stamping!
Penny Tokens Stampin Spot
Penny Hanuszak, Canadian Independent Stampin' Up Demo

June Hostess Code:    
Don't forget to apply this code to your order during the month of June 2021, if it's under $200.00 and you'll receive a thank you card and small hostess gift from me.  If your order is over $200, you'll receive a thank you card from me, but will earn your own Stampin' Up Rewards based on the size of the order.  

Click here for PDF version of the Catalogue or if you live in Abbotsford or Fraser Valley area contact me to get a catalogue.  


Click Here to Visit my On Line Clearance Rack 

Paper Pumpkin Alternatives April 2024 and Sketch Challenges

The past week was so busy that time literally flew by.  I have a number of projects on the go, including working on my April 2024 Paper Pump...