I'm proud to be hosting this week's Watercooler Wednesday colour challenge. Originally I planned to choose some of the rich warm colours of Fall for this challenge, however we've been experiencing some much cooler weather these past few weeks, and my thoughts have turned to the winter ahead.
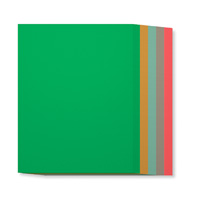
When I think of winter I visualize frost on the windows, shiny ornaments on the tree, and the soft dreamy look of the woods behind my house nestled under a blanket of snow. I love the soft tinge of blue in the frozen creek, the cool sky and how it contrasts with the earth that's still visible on the forest floor. With all that in mind it wasn't hard to choose my colours for this week's challenge, they are Tip Top Taupe, Soft Sky, Winter White and Silver.

Here's My Card:
One of my all-time favourite Christmas stamps, that I was thrilled to see carried over into this years Annual Catalogue, is called Embellished Ornaments. I chose to use this stamp set and the coordinating Delicate Ornaments Thinlet dies for the focal point of my card.


Supplies:
Stamp Sets: Embellished Ornaments, Time of Year (Hostess Set AC), More Merry Messages (R) and Happy Scenes (R)
Ink: Tip Top Taupe, Soft Sky ink pads and markers
Card Stock: Tip Top Taupe, Whisper White, Soft Sky, Silver Foil
Accessories: Big Shot, Trimmer, Silver Sequins - Frosted (R), Basic Rhinestones, Softly Falling Embossing Folder, Delicate Ornaments Thinlet Dies, Bunch of Banners Thinlet Dies,Dimensionals, Tom Bow Glue, Mini Glue Dots, Spritzing Tool (R).
Assembly:
 1. The card base is a standard side fold card measuring 5 1/2 x 8 1/2" and scored and folded at 4 1/4".
2. The first layer is a piece of Whisper White card stock measuring 5 1/4" x 4". I stamped the snowflake image from Happy Scenes (R) in Soft Sky in the bottom and top right corners of this card stock and then adhered this layer to the card base.
3. The next layer is a strip of Silver Foil cut to 2 1/4" x 5" and adhered to the left side of the card front, and leaving a border of Whisper White on three sides.
4. The third layer is a strip of Soft Sky card stock measuring 1 6/8" x 4 1/2" and embossed with the Softly Falling EF. Adhere to the foil strip leaving a 1/4" on top bottom and left hand side.
5. The final layer is a 3 x 4 piece of Tip Top Taupe cut and embossed as above. This piece is adhered to the Soft Sky and Whisper White layers with Tom Bow glue.
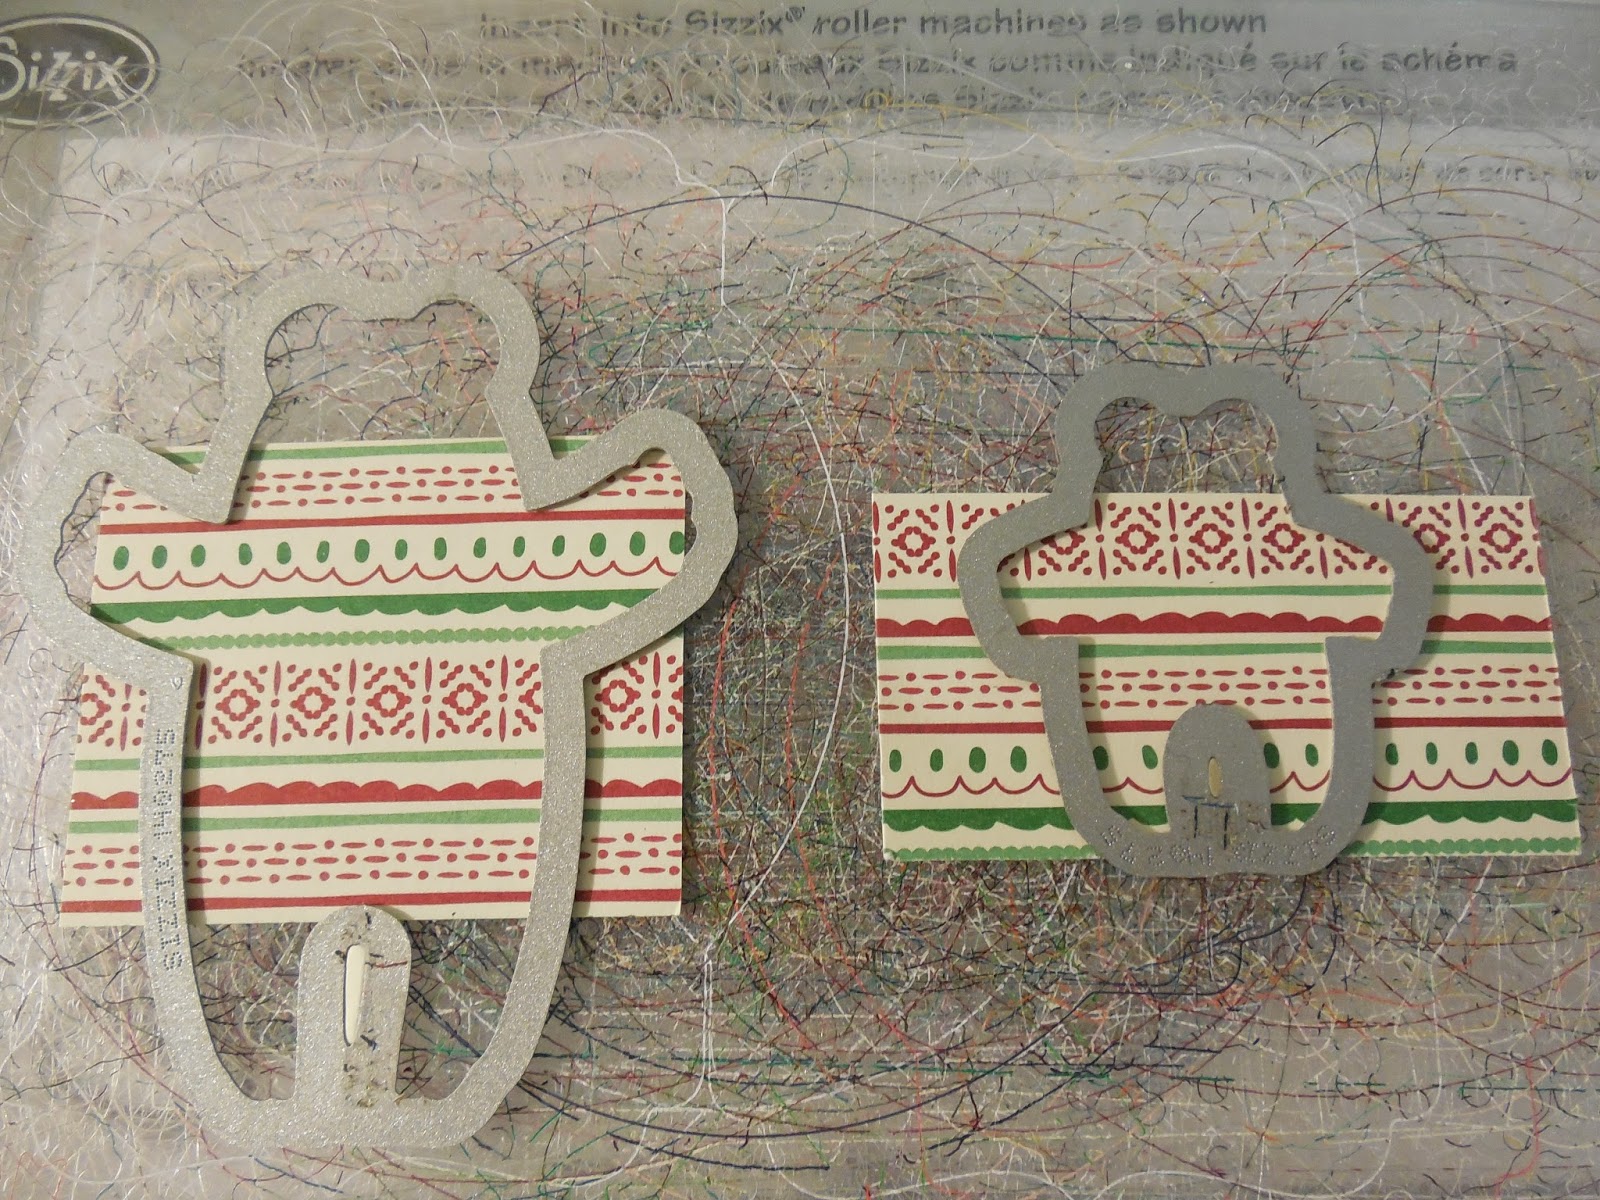
6. The small ornament image was cut from a 2" x 2" piece of Soft Sky with the thinlet from the Delicate Ornaments set. The top of the ornament is cut with the same dies from Silver foil. Before adhering the ornament to the Tip Top Taupe layer it was very lightly spritzed with Tip Top Taupe ink, and three small basic rhinestones were added across the center of this ornament.
 7. I stamped the large ornament image from Embellished Ornaments on a 2 1/2 x 4 1/2" piece of Soft Sky card stock with Tip Top Taupe ink. The image was cut out with the large ornament thinlet. The top of the ornament was cut from a small piece of silver foil using the ornament topper thinlet. The silver foil flower was also cut with the Thinlets, attached to the center of the ornament with a glue dot and then a basic Rhinestone was added to the center for a little more shine and bling. The ornament was mounted to the Tip Top Taupe layer with Dimmensionals.
8. The Christmas banner from the Time of Year Hostess stamp set was stamped in Tip Top Taupe on a scrap of Soft Sky card stock. I used the single banner from the Bunch of Banners Thinlet Dies to cut out the banner and then adhered it with dimensionals to the ornament and Tip Top Taupe layer. I'm so happy with this stamp set. I'm loving all the banners and have really put them to good use.
9. To finish off the card I lightly spritzed the card face with Tip Top Taupe ink and then added some Silver Rhinestones from a retired rhinestone package called Frozen.
10. A 5 1/4 x 4" piece of Whisper White card stock was cut for the inside of the card. The verse "Hanging the Holly...." from the retired More Merry Messages stamp set was stamped in Tip Top Taupe ink in the card center. I stamped the corners of the card with the star corner image from Happy Scenes. Although this set is retired, I keep it in my tool box for all the small detail stamps that I love, like this one.
 Well that's it for my card this week, I hope you like it and it gave you some inspiration. This card has many layers and looks a bit difficult but it's actually a fast and easy card to assemble. Did you like this colour challenge with non-traditional colours? I'd love to hear your thoughts on it and on this card design.
Don't forget to check out all the amazing creations by the other design team artists at the Watercooler Wednesday blog. You're going to love them! So much creativity went into this weeks challenge.
Want to play along? I hope you will. We love seeing what you make with our challenges and hope you'll join us by linking up your own creation this week. This challenge is open until 5:00pm MT on Monday October 17th, 2916. Come play along!
Happy Stamping!
Penny Tokens Stampin' Spot
When I think of winter I visualize frost on the windows, shiny ornaments on the tree, and the soft dreamy look of the woods behind my house nestled under a blanket of snow. I love the soft tinge of blue in the frozen creek, the cool sky and how it contrasts with the earth that's still visible on the forest floor. With all that in mind it wasn't hard to choose my colours for this week's challenge, they are Tip Top Taupe, Soft Sky, Winter White and Silver.

Here's My Card:
One of my all-time favourite Christmas stamps, that I was thrilled to see carried over into this years Annual Catalogue, is called Embellished Ornaments. I chose to use this stamp set and the coordinating Delicate Ornaments Thinlet dies for the focal point of my card.


Supplies:
Stamp Sets: Embellished Ornaments, Time of Year (Hostess Set AC), More Merry Messages (R) and Happy Scenes (R)
Ink: Tip Top Taupe, Soft Sky ink pads and markers
Card Stock: Tip Top Taupe, Whisper White, Soft Sky, Silver Foil
Accessories: Big Shot, Trimmer, Silver Sequins - Frosted (R), Basic Rhinestones, Softly Falling Embossing Folder, Delicate Ornaments Thinlet Dies, Bunch of Banners Thinlet Dies,Dimensionals, Tom Bow Glue, Mini Glue Dots, Spritzing Tool (R).
Assembly:

2. The first layer is a piece of Whisper White card stock measuring 5 1/4" x 4". I stamped the snowflake image from Happy Scenes (R) in Soft Sky in the bottom and top right corners of this card stock and then adhered this layer to the card base.
3. The next layer is a strip of Silver Foil cut to 2 1/4" x 5" and adhered to the left side of the card front, and leaving a border of Whisper White on three sides.
4. The third layer is a strip of Soft Sky card stock measuring 1 6/8" x 4 1/2" and embossed with the Softly Falling EF. Adhere to the foil strip leaving a 1/4" on top bottom and left hand side.
5. The final layer is a 3 x 4 piece of Tip Top Taupe cut and embossed as above. This piece is adhered to the Soft Sky and Whisper White layers with Tom Bow glue.
6. The small ornament image was cut from a 2" x 2" piece of Soft Sky with the thinlet from the Delicate Ornaments set. The top of the ornament is cut with the same dies from Silver foil. Before adhering the ornament to the Tip Top Taupe layer it was very lightly spritzed with Tip Top Taupe ink, and three small basic rhinestones were added across the center of this ornament.

 |
| Embellished Ornaments Stamp Set has seven stamps that are perfect for all your Christmas card needs. I love the sentiments in this set and the font. They're perfect for using on tags or cards. |
 |
| Time of Year Stamp Set is only available as a Hostess Reward for hosting a Workshop or having an order of $200 or more. There are eleven photopolymer stamps in this set and it coordinates with the Bunch of Banners Thinlets pictured below. |
 |
| Bunch of Banners Thinlet Dies - for this card I used the single banner at the top right of this picture. |
10. A 5 1/4 x 4" piece of Whisper White card stock was cut for the inside of the card. The verse "Hanging the Holly...." from the retired More Merry Messages stamp set was stamped in Tip Top Taupe ink in the card center. I stamped the corners of the card with the star corner image from Happy Scenes. Although this set is retired, I keep it in my tool box for all the small detail stamps that I love, like this one.

Don't forget to check out all the amazing creations by the other design team artists at the Watercooler Wednesday blog. You're going to love them! So much creativity went into this weeks challenge.
Want to play along? I hope you will. We love seeing what you make with our challenges and hope you'll join us by linking up your own creation this week. This challenge is open until 5:00pm MT on Monday October 17th, 2916. Come play along!
Happy Stamping!
Penny Tokens Stampin' Spot