Thursday, October 20, 2016

October Wacky Watercooler Blog Hop - Celebrates Fall


Hi everyone!  Welcome to the Wacky Watercooler October Blog Hop that runs from October 20th to 22nd.   We're celebrating Fall colours and occasions and I think you're really going to enjoy the projects by our eight design team artists. 

Because this blog hop is circular it doesn't matter where you start, you'll eventually wind up where you started from. If you've come here from Marie Green's  wonderful blog, I bet you were super impressed with her great projects.  Marie is always so creative.  When you've finished with my post you'll find some icons at the bottom of the page to move along either to the next or previous blogs, or you can go right to the beginning.  
 
So let's get started. Since Thanksgiving has already been and gone in Canada, I decided to focus my projects on Halloween.  It's one of my favourite festive times of the year and I really enjoyed making these cards to share with you. 

Project Number One:  Jar of Haunts
I've created a fun Halloween Easel card using the Jar of Haunts stamp set. I fell in love with the "Mummy" jar the moment I saw it. 

Here's My Halloween Easel Card:

 This is a side view.  You can see the easel part with it's Mountain fold. 
 Here's the back of the card.  Do you recognize this Designer Series Paper?  It's from the Go Wild Designer Series Paper Pack.  I didn't have any current Halloween paper, so when I looked at the design I thought it worked perfectly with the Pumpkin Pie Glimmer Paper.
 
The inside really says it all! The Trick or Treat image is from last year's Howl-o-ween Treat stamp set.  I love how big and bold this image is so couldn't resist using it.
When the card is folded flat it measures 4 1/2 x 4 1/2". 
The sentiment is from a retired stamp set called Seasonal Sayings.  I fussy cut it out and then mounted it on Glimmer Paper and then mounted it with dimmensionals across the Mummy Jar.   I coloured the tops of the bandage strips with a Sahara Sand marker.
Project Number Two:  Bite Me
 Once again I took advantage of the Clearance Rack and purchased the "Bite Me" photopolymer stamp set which was on for 50 % off.  Honestly, I wanted to get it last year, but you know how it is, I kept putting it off.    So when I visited the Clearance Rack a couple of weeks ago and saw that awesome web and black cat, there was no hesitation. It's an awesome little set. 
Here's  My Card:
WARNING!!!  SPIDER ALERT...........SPIDER ALERT..........  If you don't like spiders I'd suggest you move on to the next card, but if you do like them then ignore this warning and check out this cool web and it's long legged occupants! 
A spider's world always seems kind of gloomy to me, so I chose to do this card with darker colours rather than the traditional oranges, greens and purples you so often see.  Here's what I used:

1.  The card base is cut from Smokey Slate card stock and measures 8 1/2" x 5 1/2".  It's a side fold card so the score line is at 4 1/2". 
2.  1st Layer - 5 1/4 x 4" Whisper White 
3.  2nd Layer - 5 1/8 x 3 7/8" Basic Black
4.  3rd Layer - 5 x 3 3/4" Smokey Slate stamped with the Spider Web from Bite Me stamp set and embossed with the retired Spider Web EF.
5.  Bite Me image was stamped on Smokey Slate and punched out with a 1" punch and mounted on a 1 1/4" circle punched from Basic Black with dimensionals.  The completed circle was mounted on a piece of Smokey Slate that was cut with a framelit and sponged with Basic Gray ink. 
6.  The card face was splattered with Basic Black and Basic Gray marker inks and random splotches were stamped in Tuxedo Black ink.   Random Basic Rhinestones were adhered to the splotches.  They were coloured black with Sharpie Markers. 
7.  The inside panel is 5 1/4" x 4" Whisper White.  It was stamped with the Trick or Treat Sentiment and the large spider image.  
 
I love the Bite Me stamp!  I've added a couple of basic rhinestones coloured with a black sharpie to the backs of this little spiders on this image.  I stamped the web in Tuxedo Black ink and then embossed this panel with SU's retired Spider Web Embossing Folder.  It looks like a web within a web.

The large spider image was fussy cut out - no easy task but it really looked better than using a circle punch to cut it out.  I added glossy accents (R) to the spider's back so its really shiny and makes him stand out. 

I also really like the "splotch" image.  It's a bit like one from Gorgeous Grunge, however it's smaller and really adds a gritty look to the card.  I also splattered black and basic gray marker ink over the back ground. 
Finally for the inside of the card I just added the "Trick or Treat" sentiment and re-stamped the spider in the lower corner.  A few more splatters and the card was finished.  I'm quite pleased with it.  This card could also double as a birthday card for those friends who happen to be Halloween babies......I have a few of those.

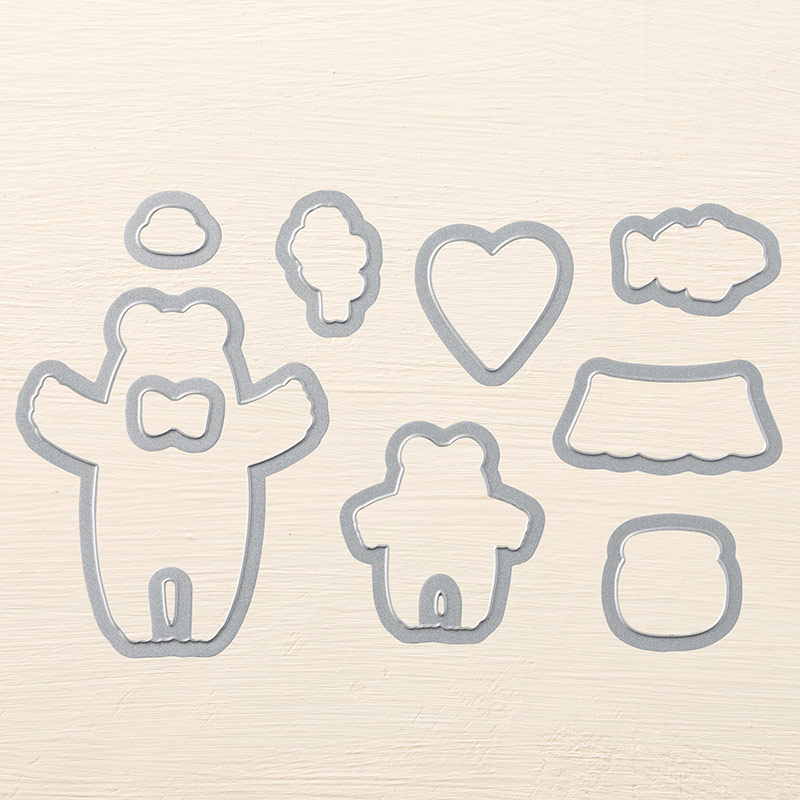
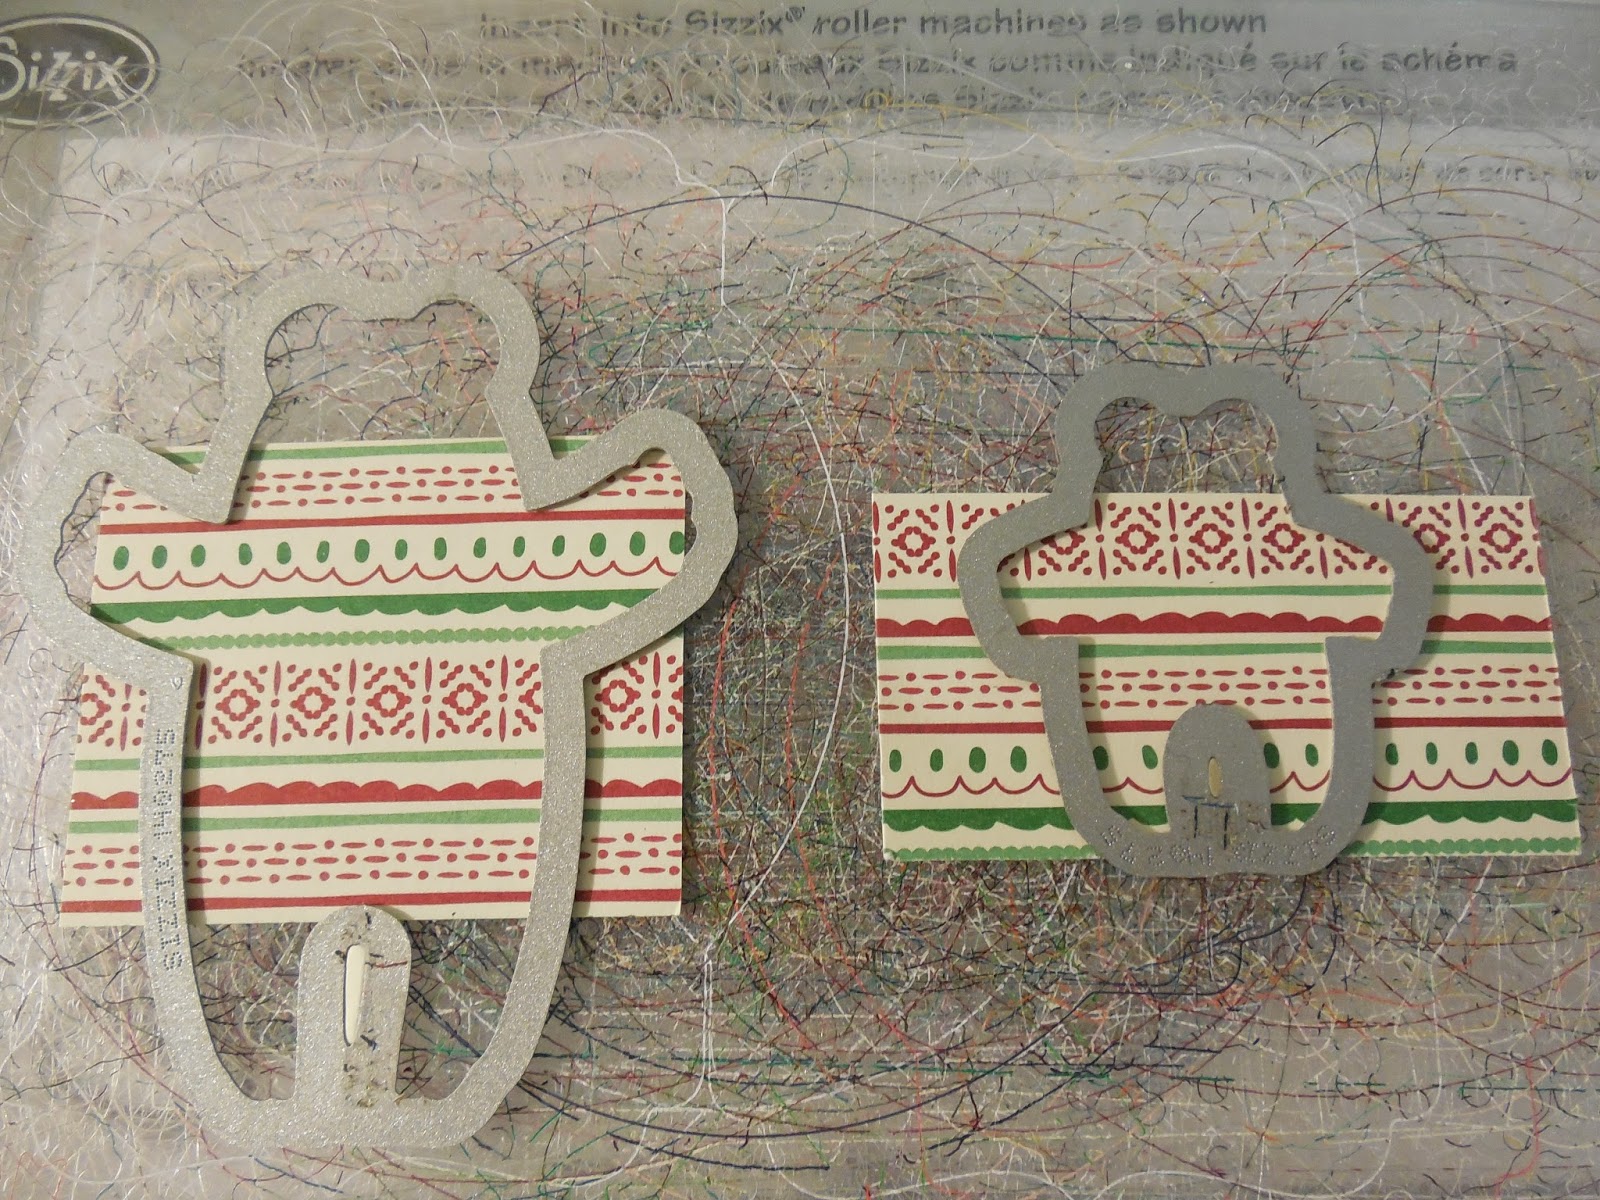
Project Number Three:  Cookie Cutter Halloween 

Although all of the images in the Cookie Cutter Halloween stamp set are cute, the two characters who really stood out for me were the skeleton and the mummy.  Both are adorable and I simply couldn't resist featuring both of them on this next Halloween card.  Because these images are the same size and are along the same theme I decided to make a Peek-a-Boo card. If you've been following my posts you remember this Peek-a-Boo card I made for the April blog hop this year.   I found a very good tutorial by Norma Lee on Split Coast Stampers which shows in great detail how to assemble this card.  
Here's My Peek-A-Boo Halloween Card:
 
When you're looking at the front of the card you see the Mummy who's surrounded by little floating ghosts.  I was able to use the Pumpkin Pie Glimmer paper on this card front to give it a real pop of colour and glam.  Love the "Happy Halloween" font.  This image is from the Jar of Haunts set.


This is the inside panel of the card.  The background DSP which is from the Botanical Designer Series Paper has been stamped with the spider webs and BOO sentiment from Bite Me.  The spider webs were stamped in Classic White ink so they'd show up against the dark paper.  

This is the last panel or back of the card.  The image is stamped with the retired Happy Scenes stamp set. 

This little skeleton just cracks me up.  I used the Stampin' Up Googlie Eyes (R) on him so he'd look like he was frightened.  He's surrounded by tiny little bats courtesy of the Holiday Homes Stamp set (R). 


I used the Sahara Sand marker to colour the tops of the bandages on this little Mummy.  He's so cute.  The ghosts are stamped in Classic White ink and are from the Holiday Homes stamp set.


This is how it looks when you open it up from the front panel. 

 
 One last look.


Well that's it for my projects for the October Hop.  I hope you've enjoyed them.  Let me know what your favourite Halloween projects are, I'd love to hear about them.

Thanks for dropping by and if you're going forward in the hop just click on the "Next" Watercooler icon below to go see Christine Guida's great projects..... have fun!   

Christine Guida

If you're going backwards on the hop you'll want to go to Marie Green's blog by clicking on the "Previous" Watercooler.
Marie Green

And if you want to start at the beginning of the hop just click on the "Home" icon below and you can start at the beginning.  
 
http://wackywatercoolerstamping.blogspot.com


Happy Stamping!
Penny Tokens Stampin' Spot!


Wednesday, October 19, 2016

WWC90 - Libby's Black and White CAS Challenge

It's time for some "simple stamping" at the Watercooler Wednesday challenge site.  Our host this week is the uber talented Libby Fens, who in my opinion is the Queen of CAS.  She's chosen a simple Black on White combo for her theme.  
Before we begin, here's a refresher on the Watercooler Wednesday rules for a  "simply stamping challenge" are.  The number one rule is that this challenge is all about simplicity and just stamping: “Simply Stamping” is a return to basics. We expect either one single stamped layer or a base with one single layer on that. We expect simple stamping. You can use masking, heat embossing, stencilling, sponging, but you can't use an embossing folder or embellishments or additional layers (not even a tag).  

Okay so now that the rules are out of the way we hope you'll join us in this great challenge - just keep it clean and simple, and use black on top of a white base.

Here's my card:
Anniversary cards are something I like to have on hand since most of my friends are married and I like to  celebrate this occasion with them.  I just purchased the Timeless Love stamp set so the timing and this challenge were perfect for replenishing my supply.

After using this set I can tell you I'm absolutely over the moon. The images and sentiments are fantastic, and I know I'll be using it a lot.  Why?  Because it literally took me 5 minutes to make this card from start to finish.  I wish you could see how beautiful it looks because these pictures just don't do it justice.  It's classy and elegant and has a bit of a wow thing going on. 

I used Shimmery White card stock instead of my normal Whisper White for this card because of the delicate sparkle you can see when the paper is turned. The creamy white surface is beautiful to stamp on and it added a real touch of elegance to the card. 


I really like the font in this set and the floral images are very delicate.

Supplies:
Stamp Set:  Timeless Love #139408 
Ink:  Momento Tuxedo Black Ink
Card Stock:  Basic Black, Shimmery White
Accessories:  Trimmer, Dimmensionals,  
The Timeless Love stamp set comes in clear (139408) or wood mount (138772) and contains five stamps.

1.  The basic black card base measures 8 1/2" x 5 1/2" and is scored at 4 1/4" for a side fold card.  For a top fold simply cut your card stock to 11" x 4 1/4" and score at 5 1/2".
2.  The Shimmery White layer on both the inside and outside of the card measure 5/14" x 4".
The inside of the card is stamped with the Congratulations sentiment and a floral image from the stamp set.

Well that's it for today.  Tomorrow I'll be stepping this card up with some colour so I hope you'll come back for a visit. Let me know if you like it too. 

If you haven't already visited the Watercooler Wednesday blog I hope you will, because you won't want to miss what the other Watercooler Artists have  created with this WWC90 Black on White Simply Stamping Challenge. There's a lot of WOW cards including an awesome Zentangle image you just have to see! I hope you'll play along too.  You have until 5:00pm Monday October 24th to link up your image, and you could Rock the Watercooler too!

Happy Stamping!
Penny Tokens Stampin' Spot

Wednesday, October 12, 2016

WWC89 - Penny's Colour Challenge

I'm proud to be hosting this week's Watercooler Wednesday colour challenge. Originally I planned to choose some of the rich warm colours of Fall for this challenge, however we've been experiencing some much cooler weather these past few weeks, and my thoughts have turned to the winter ahead.

When I think of winter I visualize frost on the windows, shiny ornaments on the tree,  and the soft dreamy look of the woods behind my house nestled under a blanket of snow. I love the soft tinge of blue in the frozen creek, the cool sky and how it contrasts with the earth that's still visible on the forest floor. With all that in mind it wasn't hard to choose my colours for this week's challenge, they are Tip Top Taupe, Soft Sky, Winter White and Silver.

Here's My Card: 
One of my all-time favourite Christmas stamps, that I was thrilled to see carried over into this years Annual Catalogue, is called Embellished Ornaments.   I chose to use this stamp set and the coordinating Delicate Ornaments Thinlet dies for the focal point of my card.   


Supplies:
Stamp Sets:  Embellished Ornaments, Time of Year (Hostess Set AC), More Merry Messages (R) and Happy Scenes (R) 
Ink: Tip Top Taupe, Soft Sky ink pads and markers 
Card Stock: Tip Top Taupe, Whisper White, Soft Sky, Silver Foil 
Accessories: Big Shot, Trimmer, Silver Sequins - Frosted (R), Basic Rhinestones, Softly Falling Embossing Folder, Delicate Ornaments Thinlet Dies, Bunch of Banners Thinlet Dies,Dimensionals, Tom Bow Glue, Mini Glue Dots, Spritzing Tool (R).

Assembly:
1.  The card base is a standard side fold card measuring 5 1/2 x 8 1/2" and scored and folded at 4 1/4".

2.  The first layer is a piece of Whisper White card stock measuring 5 1/4" x 4".  I stamped the snowflake image from Happy Scenes (R) in Soft Sky in the bottom and top right corners of this card stock and then adhered this layer to the card base. 

3.   The next layer is a strip of Silver Foil cut to 2 1/4" x 5" and adhered to the left side of the card front, and leaving a border of Whisper White on three sides.

4.  The third layer is a strip of Soft Sky card stock measuring 1 6/8" x 4 1/2" and embossed with the Softly Falling EF. Adhere to the foil strip leaving a 1/4" on top bottom and left hand side. 

5. The final layer is a 3 x 4 piece of Tip Top Taupe cut and embossed as above.  This piece is adhered to the Soft Sky and Whisper White layers with Tom Bow glue.

6. The small ornament image was cut from a 2" x 2" piece of Soft Sky with the thinlet from the Delicate Ornaments set.  The top of the ornament is cut with the same dies from Silver foil. Before adhering the ornament to the Tip Top Taupe layer it was very lightly spritzed with Tip Top Taupe ink, and three small basic rhinestones were added across the center of this ornament.  
7.  I stamped the large ornament image from Embellished Ornaments on a 2 1/2 x 4 1/2" piece of Soft Sky card stock with Tip Top Taupe ink.  The image was cut out with the large ornament thinlet. The top of the ornament was cut from a small piece of silver foil using the ornament topper thinlet. The silver foil flower was also cut with the Thinlets, attached to the center of the ornament with a glue dot and then a basic Rhinestone was added to the center for a little more shine and bling.  The ornament was mounted to the Tip Top Taupe layer with Dimmensionals.
Embellished Ornaments Stamp Set has seven stamps that are perfect for all your Christmas card needs.  I love the sentiments in this set and the font.  They're perfect for using on tags or cards.
8.  The Christmas banner from the Time of Year Hostess stamp set was stamped in Tip Top Taupe on a scrap of Soft Sky card stock.  I used the single banner from the Bunch of Banners Thinlet Dies to cut out the banner and then adhered it with dimensionals to the ornament and Tip Top Taupe layer.  I'm so happy with this stamp set.  I'm loving all the banners and have really put them to good use. 
Time of Year Stamp Set is only available as a Hostess Reward for hosting a Workshop or having an order of $200 or more. There are eleven photopolymer stamps in this set and it coordinates with the Bunch of Banners Thinlets pictured below.
Bunch of Banners Thinlet Dies - for this card I used the single banner at the top right of this picture.
 9.  To finish off the card I lightly spritzed the card face with Tip Top Taupe ink and then added some Silver Rhinestones from a retired rhinestone package called Frozen.

10.  A 5 1/4 x 4" piece of Whisper White card stock was cut for the inside of the card.  The verse "Hanging the Holly...." from the retired More Merry Messages stamp set was stamped in Tip Top Taupe ink in the card center.  I stamped the corners of the card with the star corner image from Happy Scenes.  Although this set is retired, I keep it in my tool box for all the small detail stamps that I love, like this one.

 
Well that's it for my card this week, I hope you like it and it gave you some inspiration. This card has many layers and looks a bit difficult but it's actually a fast and easy card to assemble.  Did you like this colour challenge with non-traditional colours?  I'd love to hear your thoughts on it and on this card design.

Don't forget to check out all the amazing creations by the other design team artists at the Watercooler Wednesday blog.  You're going to love them! So much creativity went into this weeks challenge. 

Want to play along?  I hope you will.  We love seeing what you make with our challenges and hope you'll join us by linking up your own creation this week. This challenge is open until 5:00pm MT on Monday October 17th, 2916. Come play along!

Happy Stamping!
Penny Tokens Stampin' Spot

Wednesday, October 5, 2016

WWC88 - Heidi's Sketch Challenge

  This week at the Watercooler our awesome and talented Heidi Weaver is presenting us with a great sketch challenge, and we encourage you to join in.  

The great thing about sketches is that you can interpret them in your own way, provided they 
have some resemblance to the original sketch.


Here's My Card: 
I took a bit of creative license with my take on Heidi's sketch for this week's challenge by omitting the scalloped circle element and substituting it with my family of bears.  I also used the background trees to replace the splatter. 
Supplies:
Stamp Sets:  Bear Hugs, Time of Year, Thoughtful Branches, Cookie Cutter Christmas
Card Stock:  Cherry Cobbler, Very Vanilla and Garden Green card stock
Paper:  This Christmas Specialty Designer Series Paper
Inks:  Cherry Cobbler, Garden Green, Soft Suede, Crumb Cake 
Accessories:  Big Shot, Trimmer, Dimensionals, Tom Bow Glue, Holly Embossing Folder, Bear Hugs Framelits, Bunch of Banners Framelits and Balloon Framelits 

When I saw the ribbon candy designer paper included in the "This Christmas" DSP pack it took me back to my youth, reminding me of the beautiful Norwegian knit sweaters we saw in the store windows at Christmas time.  I thought it would be fun to dress up these bears in that design and I was thrilled with the end results.   

Assembly:

1. The card base is a piece of 8 1/2" x 5 1/2" Cherry Cobbler card stock that was scored at 4 1/4". 
2. The Garden Green layer measures 5 1/4" x 4"
3. The Very Vanilla layer measures 5" x 3 3/4".  The three trees from the Thoughtful Bunch stamp set were stamped randomly and overlapping in the center of the card.  Three Rhinestones were attached to the top left hand corner.
4.  The three Bears were stamped on Very Vanilla card stock with Momento Tuxedo Black Ink. NoteI stamped and cut a second large bear image for the Mama bear.  The images were cut out using the Bear Hugs Framelits and they were sponged with Crumb Cake and Soft Suede inks.
For these next few pictures you won't see any sponging or colouring on the bears.
This adorable stamp set is available in the Annual Catalogue

These are the matching Framelits

5.  To make the sweaters for Papa and Baby Bear, I used some small scraps of designer paper and cut out just the sweater part with the Bear Hugs Framelits.  

For Mama Bear's dress I cut out the skirt Framelit using the same designer paper and I used a large scallop circle and a 1/2" circle punch to make the top of her dress and Baby Bear's collar.


In this photo, you can see the sweaters don't actually fit the bears well.  In Papa Bear's case, the neck is too high and the sleeves too long.  Not too worry though, as I adjusted the sizes easily by trimming away the excess dsp from the collar area and on the arms.

The arms of the sweater were trimmed back and cuffs and collars cut from small strips of Cherry Cobbler card stock were attached with adhesive. I added the bow tie from the Bear Hugs Framelit set

In this picture you can see that I actually reversed the onsie.  The collar for the onsie was made by cutting a 1/4 circle with the 1/2 circle punch.  The scallop circle for Mama Bear's outfit was attached with dimensionals and in the final version has a pretty green bow cut using the Balloon Framelit Dies


 6.  Once the clothes were adhered to the bears I used adhesive to attach the Papa bear to the left of the trees.  I used Dimensionals to attach the Mama Bear and her image overlaps the Papa Bear.  I used double mounted Dimensionals on the Baby Bear so you can tell he is out front.  

7.  The Christmas Banner was stamped with the Time of Year stamp set and cut out with the Bunch of Banners Framelits.  Love those banners.  It was mounted with Dimensionals.

8.  If you look at the sketch, there isn't a panel on the bottom of it, but I managed to get ink on the bottom of my Very Vanilla card stock, so covered it up with a 1" x 4" piece of Garden Green card stock that was embossed with the Holly Embossing Folder.  My goof up actually worked out nicely as this additional piece of card stock seemed to anchor the picture.  

9.  Three Basic Rhinestones were added to the top left hand corner of the card front.  

9.  For the inside of the card I cut a 5 1/4" x 4" piece of Very Vanilla card stock and stamped the sentiment "Warm Heartfelt Greetings for a Very Merry Christmas" in Cherry Cobbler ink.  The sentiment was from the Cooking Cutter Christmas stamp set.  A 1/4" strip of dsp was added to the right side of the panel. 


This was a really enjoyable card to make, so hats off to Heidi for a great sketch challenge this week!  I hope you enjoyed my version of it and will leave me a comment.   Hopefully my small tutorial will be of help if you decide to make sweaters for your bears 


Don't forget to check out the rest of the Watercooler Wednesday design team's cards.  They are truly wonderful.

Happy Stamping!
Penny Tokens Stampin' Spot  

Little Dreamers Baby Card - FMS #636

This weeks Freshly Made Sketch by Cecile had me puzzled and unsure of what I could do with it.  However I loved design teams wonderful sampl...