I've been busy getting last minute cards and projects finished for stocking stuffers and haven't been participating in any challenges while I try to stay focused on the work at hand, but in the new year will resume my weekly challenge posts. I also plan to post an array of cards I've made this past year. What fun it is to look back on projects!
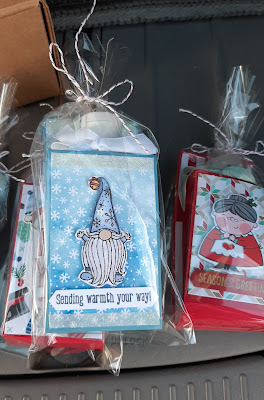
But right now, here's a look at some of the hand sanitizers I've been making and packaging for stocking stuffers this year. I used a variety of winter and Christmas themed papers and stamp sets to decorate these hand sanitizer holders. My motto when doing these kind of projects is to just let your imagination go wild and see what you come up with. It usually works quite well.

 |
| For this hand sanitizer cover, I used Snowflake Splendor DSP for the backdrop and have featured one of the cute little gnomes from Gnome for the Holiday (#153322) stamp set from Stampin' Up! This cute little set will be retiring on January 4, 2021. |

 |
| For this cover I used paper scraps from the retired Let It Snow DSP that was out last year. |
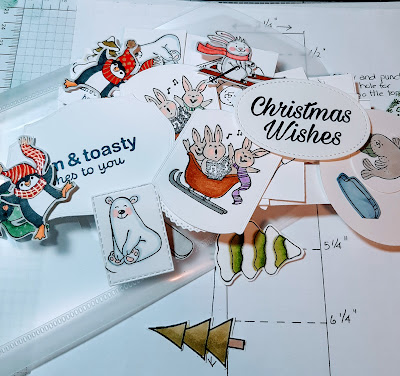
The "Hand Sanitizer" bottles I purchased from Costco are approximately 4 inches tall and hold 2 fl. oz of sanitizer. Most of the templates I found for Hand Sanitizer Covers on Pinterest are designed for smaller bottles or different shaped bottles. Since nothing worked for my bottles, I grabbed my ruler and created my own. I'm pretty pleased with the way it turned out. I'm sorry my template picture is so dark, it's winter in Canada and the days are longer and darker. I'm hoping Santa gets my "wish list" and brings me some better lighting for my stamp cave.
- Cut a strip of card stock 2 1/4" x 11" for the base.
- Score at 1/2", 1 3/4", 5 1/4", and 6 1/4" crease all score lines with bone folder so they are flexible.
- Center a 1" circle punch in space between 1/2" and 1 3/4" score lines and punch. This is where the bottle neck /cap goes through.
- Cut coordinating DSP
- 2 1/8" x 3 3/8" for front panel (cut 1)
- Cut 2 pieces 4 5/8" x 2 1/8" for the back and inside back panels
- Glue all the panels in place
 |
| Click here to go to my 24/7 Online Shopping site |
Win a Stamperatus in December:
As a Christmas bonus, anyone placing an order of $50 or more during the month of December with me, will have their name entered into my "Win a Stamperatus" draw to be held on December 25th. Hope you'll play along!


No comments:
Post a Comment